
Windows Server 2022 Active Directory Home Lab Part 2: How to Setup DHCP in Server 2022
I really, REALLY love DHCP. It just rolls off the tongue like hot butter through a grilled hotdog. I can’t wait to talk about how awesome dynamic IP assignments are. I am SUPER serious.
To install DHCP follow the exact same steps used when installing the Active Directory Domain Services Role, except select “DHCP server” this time. From there the steps differ
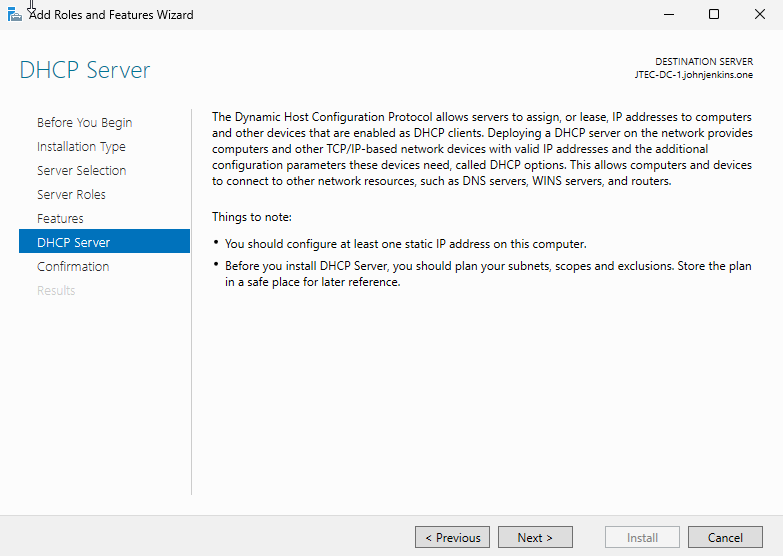
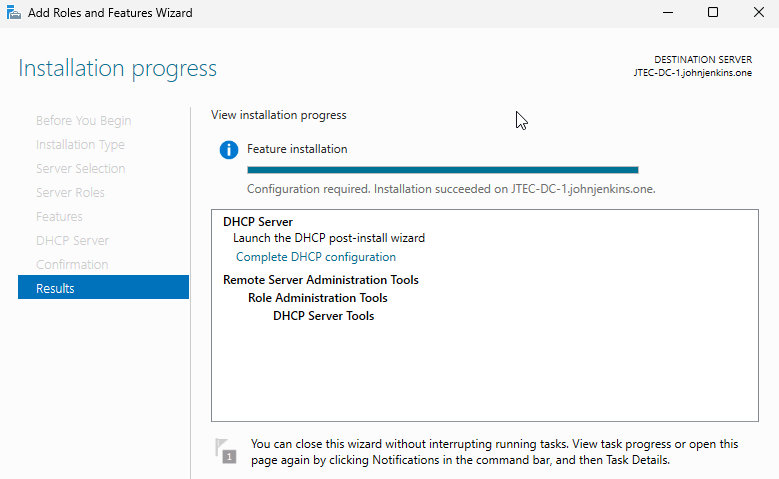
If the steps were done right, you should appear at the window above. Once you understand the prompt, click “Next” where it will lead you to a confirmation window like we saw when installing Active Directory Domain Services, and once DHCP is installed there should be a link that says: “Complete DHCP Configuration.” Click on that for the next steps
When you click the link, it takes you through a wizard. Click next until you see this window.
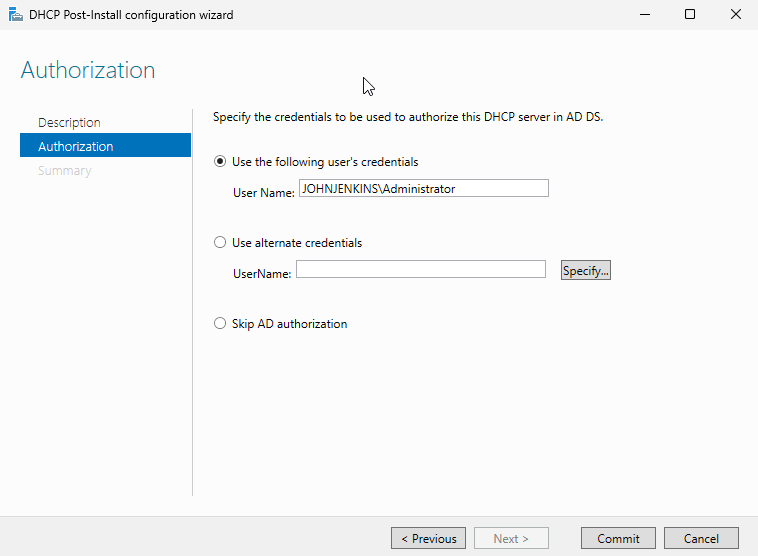
I left these the same, but for those that want to do this advanced feel free to configure this more. After this click commit, and wait for the installation to be done. When it is, click close and then type DHCP server in the search bar to open the DHCP manager. Now we will configure DHCP scopes, among other things.
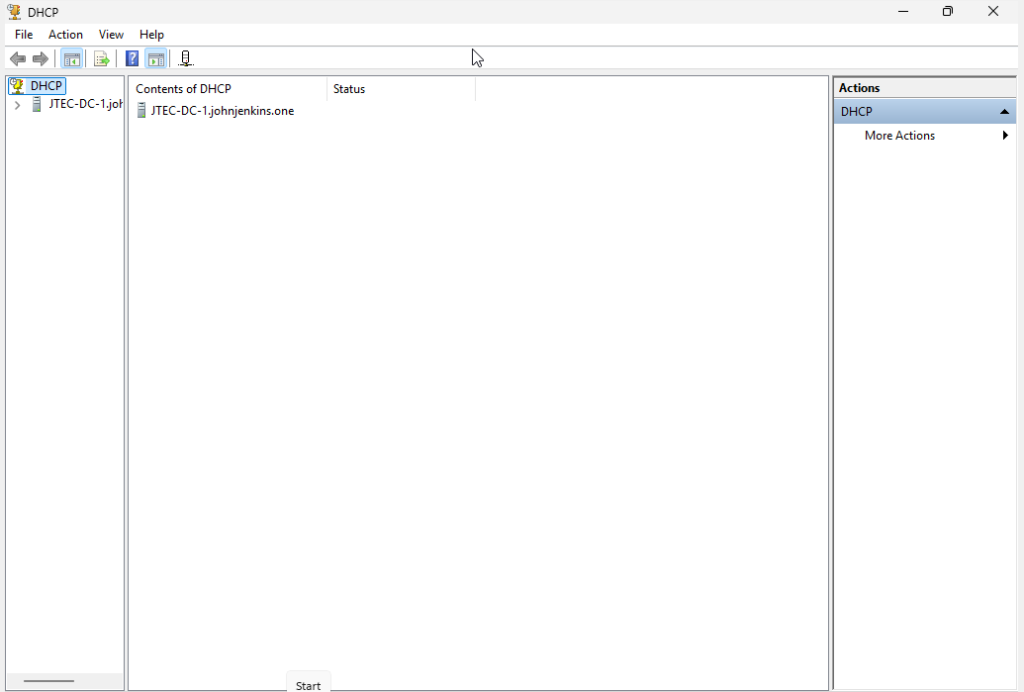
This is the first window you should see when you open the DHCP manager. You will see an arrow on the left hand pane under DHCP. Click on that arrow to expand the options under there and you should see an IPV4 option and an IPV6 option. Configuring IPV6 should not be necessary, although if you would like to do that, then feel free to do so. Right click IPV4 and look for the option “New Scope” and click that.
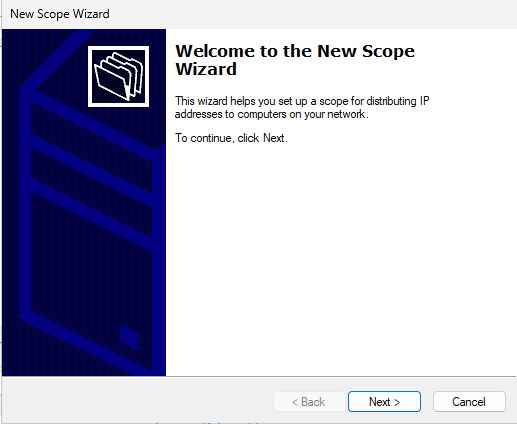
When you do it should lead you to this important Wizard. Click next.

It will ask you to put the name of the scope and the description of the scope. Name it however, you would like then click “Next.”
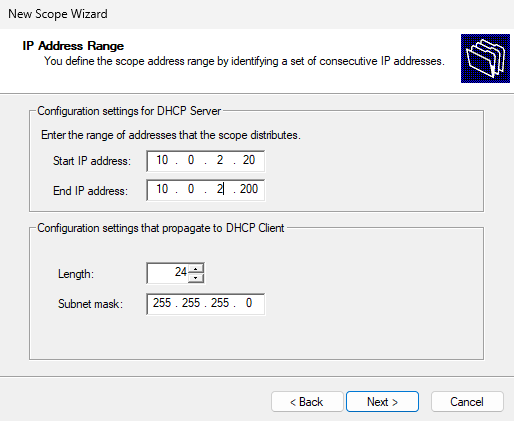
Here you enter the IP ranges of your scope. At the time I had mine as this based on the network settings discussed earlier. Once that’s all configured to your liking, click “Next.”
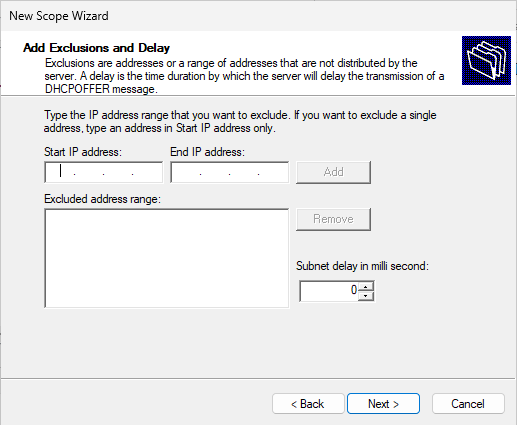
This is an optional step. If you have any IP addresses that you would like to exclude add their range or just one IP address here. For brevity’s sake I did not do this part.
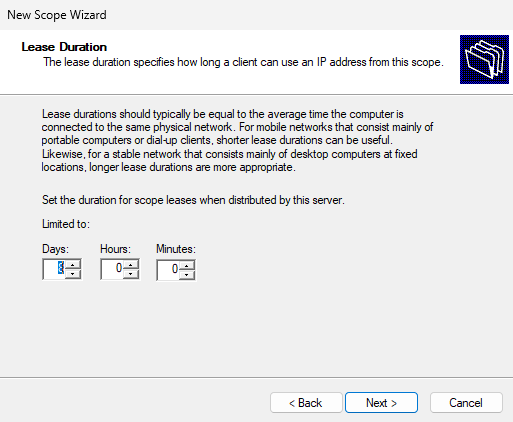
In this next step you can chose your DHCP lease timeframe before a computer connected to this domain controller gets another IPV4 address. Here I left it at it’s default setting, which is 8 days, but if you would like you could make it longer (or shorter) its always possible to do such a thing. The next window will ask you if you would like to configure every setting up to this point right now, to which I selected (and would highly recommend you choose) yes which is on by default, then click “Next”
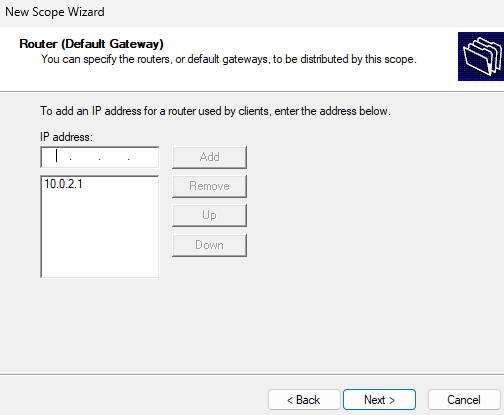
After doing the previous steps, here you select your default gateway. You type it in the IP Address text box then click “Add” once you are complete. Based on my network settings that I had at the time, that is my default gateway in the bigger textbox. Adjust your gateway accordingly based on what you configured for your network settings, and once you are done click “Next.”
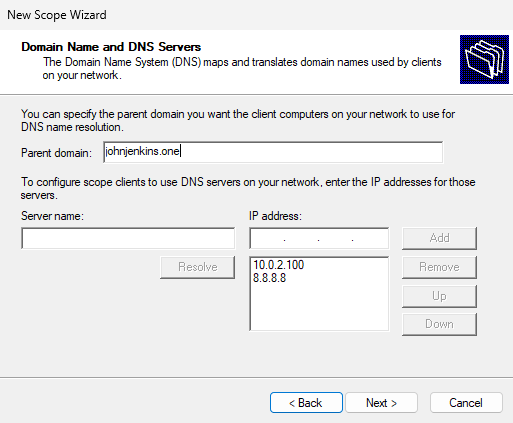
When you do you are greeted by the above window. This is to specify DNS resolution, although you could leave this blank if you wanted to as this is another optional step. I completed this however because I wanted the clients on my network to resolve both googles and my DNS servers (in case anything important should happen). When you are done here click “Next” where it will take you to a WINS portion. This is also another optional step as WINS is used in older networks, where I am technically setting up a new one for my new business (hence why this PC is called JTEC-DC-1. JTEC is the name of my business and this PC is intended to function as the one and only Domain Controller). When done with that step, it will ask you if you want to activate the scope we just configured. I selected “yes” and clicked “Next” which will lead us to the end of the wizard, and as a result, we now have working DHCP.
Filed under: Uncategorized - @ August 15, 2025 11:32 pm