Windows Server 2022 Active Directory Home Lab Part 6: Web Server and FTP Server
Remember when the internet was accessible through Netscape, and Internet explorer? Remember when images would load line by line at 56kbps or slower speeds? Remember when simple search engines and browser wars existed? Me neither, but we have come a long way since then. To put this in perspective, many search engines exist now exist, Internet speeds are faster and web pages, let alone images, no longer load line by line at speeds of 56kpbs (although dial up internet still does exist), and Internet Explorer and Netscape are no longer mainline browsers, therefore the web servers for these no longer exist (except for Internet Explorer 11, which is supported only for specific enterprise editions). Today, we are going to go into how to set up a web server (and FTP server) on our domain controller (in the real world however, one should use another dedicated Desktop computer for this).
We will add roles to start, and to do that just click “Add Roles and Features” on the server manager and follow the wizard as we have done in previous parts. When the role selection pops up, select the “Web Server (IIS) role” and if you can expand IIS and find FTP Services under there, click on them. Then select “Add features” and continue with the Wizard until you arrive at “Role Services.” Here all we have to select are items under the “Security” and “Application Development” areas. Under Security, just check the “Request Filtering” “Basic Authentication” “And “Windows Authentication” reports. For “application development”, check every box that is next to “.NET”, “ASP.NET”, and “ISAPI.” These are all used for web application development through frameworks, however that is a more advanced topic and I will not be covering this as I only added these for convenience. If FTP Services were not found upon first glance, simply go through the Wizard again, after installing IIS and clicking the arrow next to the IIS checkbox to reveal where the FTP server is. Once the role is done, you should see an ISS area on the left hand side. Click that and you will see some information, in particular we are looking for an IP Address. Write down that IP Address, boot up Microsoft Edge, and type in the IP Address. If you do you should come across an ISS web page that looks like this:
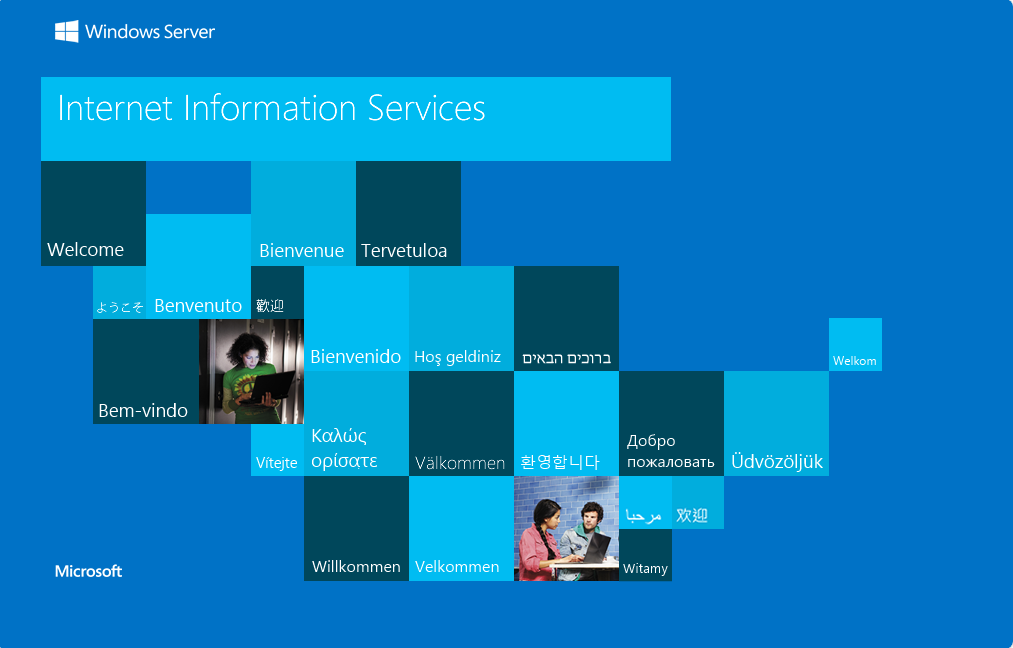
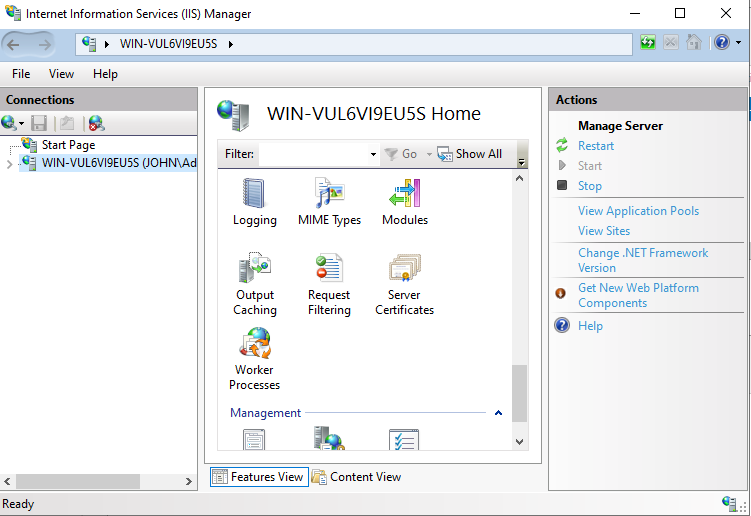
After this feel free to click on any language of your choosing, but the basic set up is complete. You are free to do more whatever you wish with this webserver. Also included in the installation is a program titled IIS Manager. Type “ISS Manager” in the search bar to begin. When the program opens you will see two options in the left pane. Click the one with the drop down arrow which will lead to a folder named “Sites.” If done correctly thus far, your screen should look like this.

Right click on the “Sites” folder, and then click “Add New Site” It will give a wizard on what to do. The first part will need you to provide a name and a path before continuing.

Create a folder if you want this site somewhere specific, otherwise pick a location and move on. The next window will show you the option to select an IP Address, and an SSL certificate.
To save time, after all this is a lab environment, you don’t have to enable SSL, but in the real world, for security purposes its great practice to do this. If however, you still want to use SSL for security purposes, just exit the wizard, and click on the name of your server. If you do and scroll down a little bit, you will come across something called “Server Certificates.”
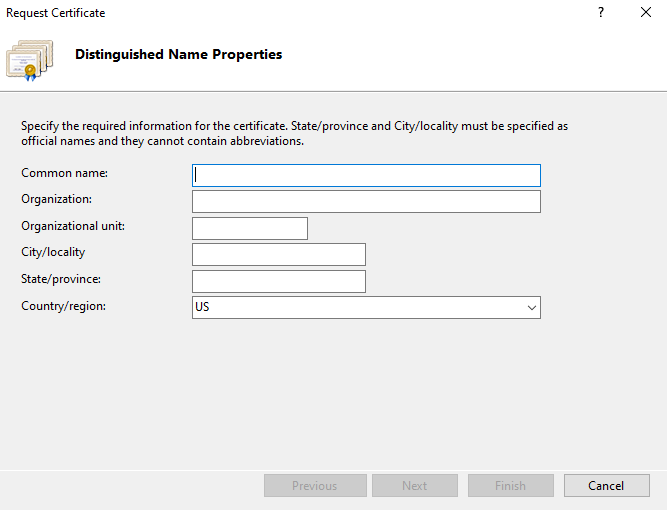
Click on that and follow the wizard. The first part will have you enter the names of the Site, and where it should be based in. Everything except the “Organizational Unit” field has to be filled out in order to advance.
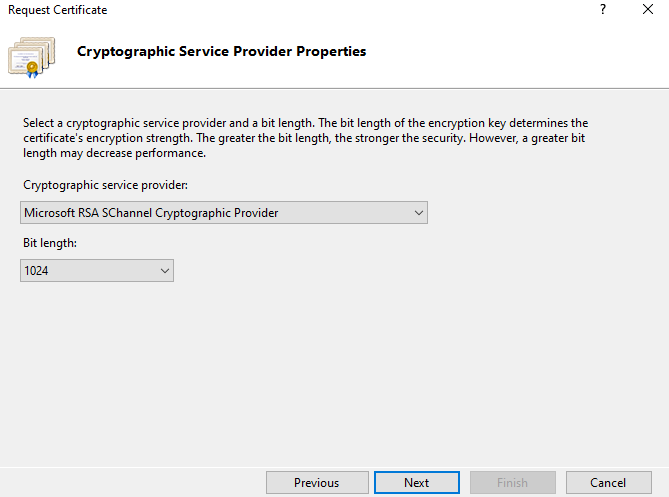
What follows is the encryption choice for the site. You get a choice between the Diffie Helman, and RSA algorithms. RSA is much stronger than basic Diffie Helman, and the recommended key length I would pick is 2048, but this is all up to either the person configuring this or the organization.
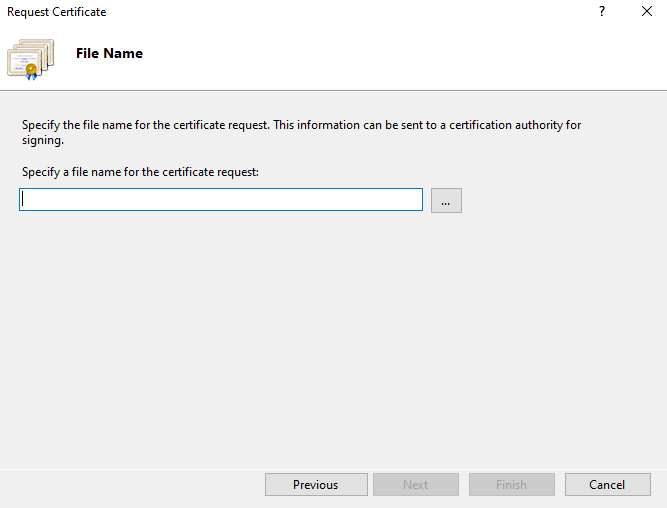
After this, all that needs to be done is enter a name for the certificate.
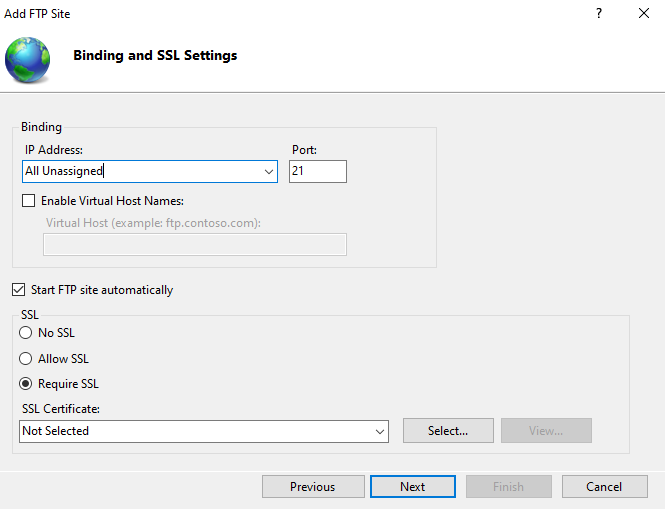
Once finished reopen the wizard to open an FTP site, and head to the second part with the IP Address and SSL options. Select your SSL certificate if you really want to, as well as leave the port at the default value of 21, then move on to the last part:
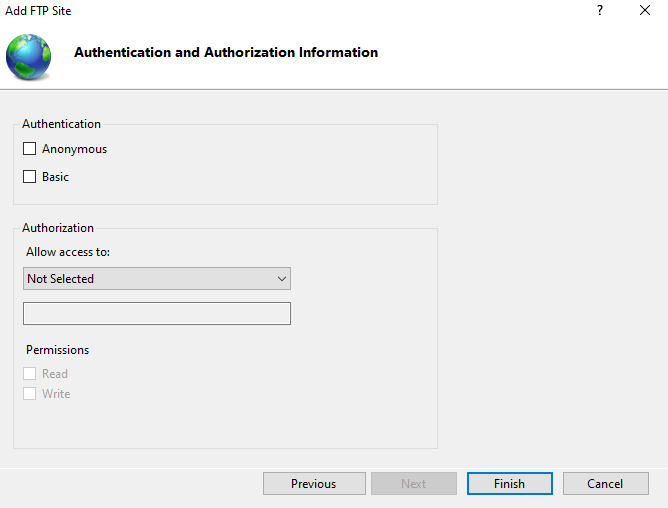
From here select basic, and with the drop down menu, either make it accessible to all computers connected, or choose specified users as well as the permissions for either. After that, the FTP site will be up and running. To access it, simply go to Microsoft Edge again, and type in the searchbar, “ftp:” followed by the IP Address you used (make sure its not the same as the web server).
This will conclude part 6 of the lab. In part 7 we will install SQL server to have a database application ready to go.
Filed under: Labs,Professional Development - @ November 29, 2025 4:58 am