Windows Server 2022 Active Directory Home Lab Part 5: Storage Server
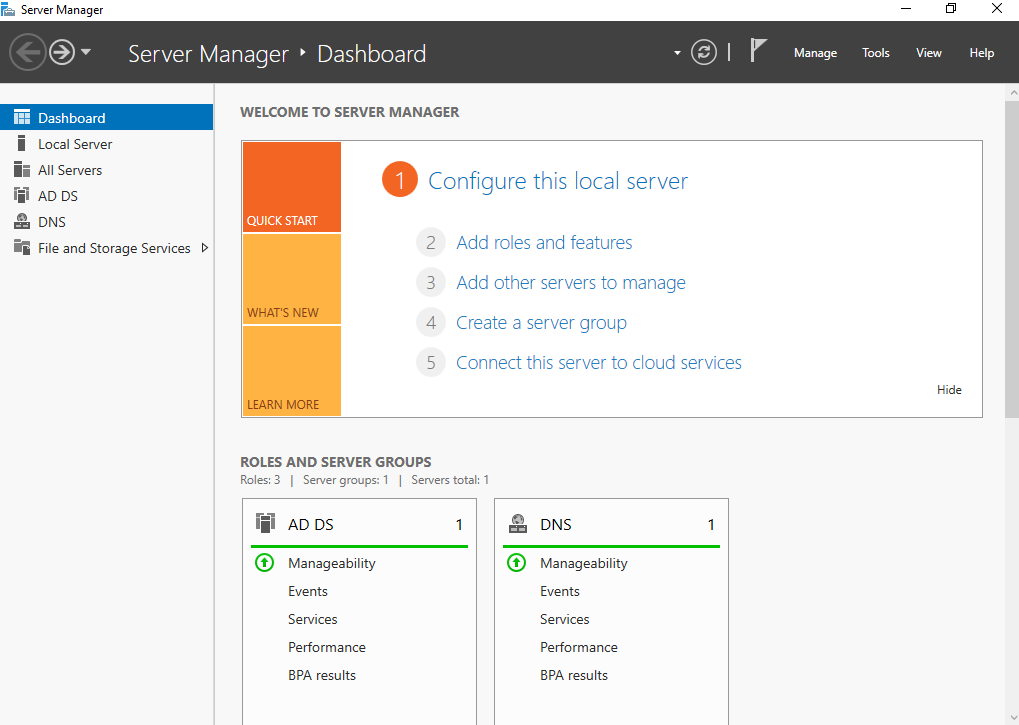
In today’s data driven world, the need for reliable, scalable, and secure data storage has never been greater. A storage server serves as the backbone of any modern IT environment, enabling businesses and individuals to centralize their data, improve accessibility, and safeguard valuable information. Whether it’s hosting critical databases, managing backups or supporting file sharing across networks, a dedicated storage server ensures smooth operations and long term data integrity. Understanding its importance is key to building a resilient and efficient digital infrastructure. In previous steps (step 1 in particular), we actually partially set up some of this already. To see if it has been setup correctly, look at the server manager to see if the “File and Storage services” Have been installed on the left panel like in the picture below.
If that is not there, this is what to do:
Assuming you are not logged into the domain controller, once logged into the domain controller, wait until the Server Manager boots up, and then follow the steps to set up a new role as demonstrated in Step 1. When getting to the role selection, the box for “File and storage services” should be marked in black. Expand on the window by clicking the triangle next to the black box. Do the same with the window that says “File and iSCSI services, and you should end up similar to the picture below.
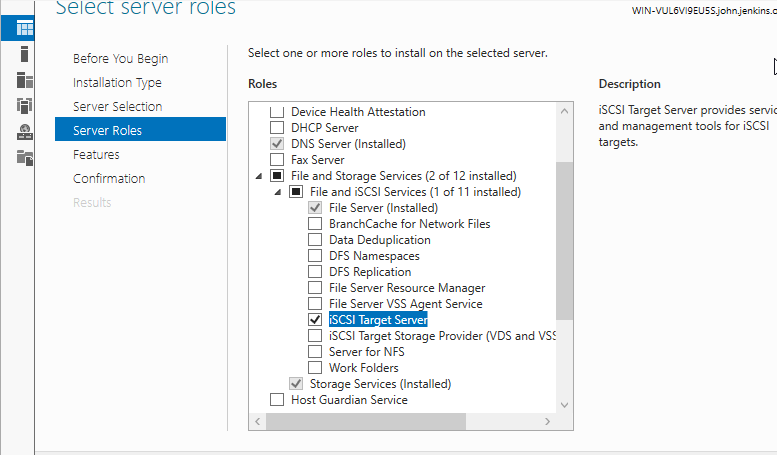
If upon doing this, and you notice that the boxes marked as “file server” and “storage services” aren’t checked, click on both boxes, and proceed with the installation, Otherwise their may be a big problem with the OS, but thankfully, this type of problem is rare, and shouldn’t happen. In the picture you may notice that I have the box “iSCSI Target Server” selected. This is completely optional, but I selected it in case I want to work on the file and storage servers later. All this provides is the ability to share block-level storage over the network. What this allows us to do is that it allows us to set up Hyper-V shared storage which as stated in part 3, we don’t actually need since this lab is done in a VM anyway. It also allows us to set up Clustered servers for Failover Clustering, Centralized block-level backup repositories, and Testing SAN configurations. For the last part about SAN’s, typically enterprises have those, but due to limited resources on my own computer, I don’t intend to make this lab about Enterprise Active Directory. As for the other 2 topics, those can be important to have in any environment, so do with that information as you will, and of course, it can always be set up later. Either way, the next steps assume that the “File Server” and “Storage Services” have been installed, so make sure again, they are installed. To install them just follow the wizard, and wait for the installation to complete.
Now the “File and Storage Service” should appear. Once they do, click on that and you should get a window that looks like this:
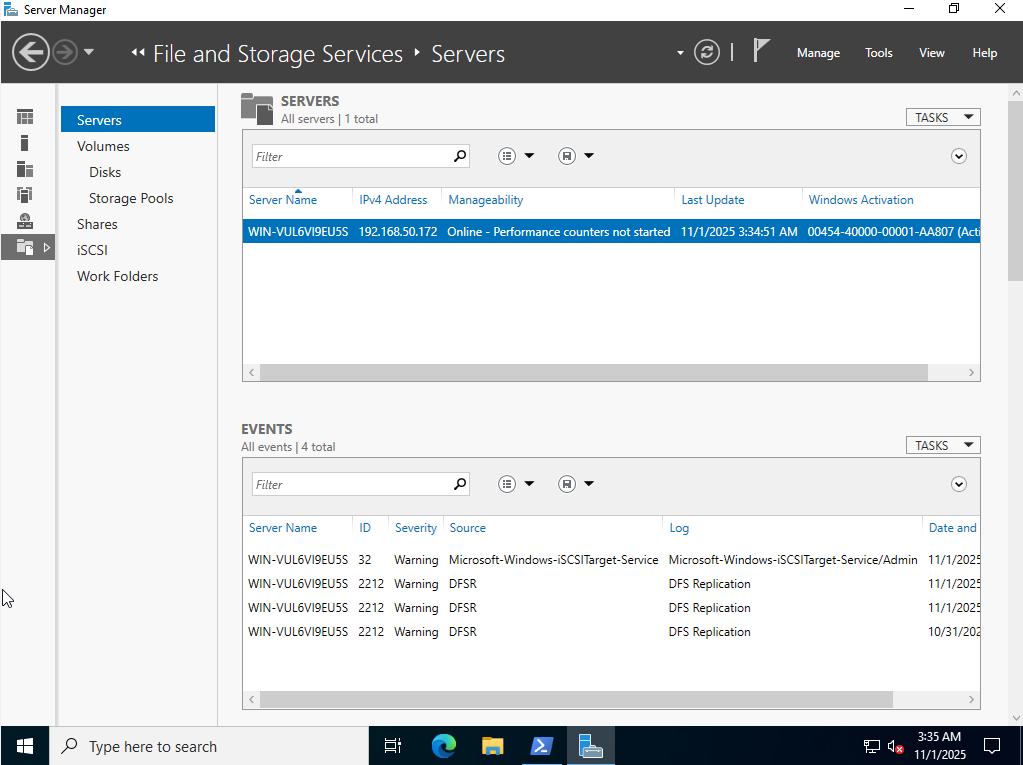
From here, we want to select “Storage Pools” which is where files can be stored across multiple computers. However, there is a major problem that may be encountered while doing this. During the set up of the Storage Pools, one may click on the “Storage Pools” tab on the left hand side, and upon doing so the window will look like the picture below
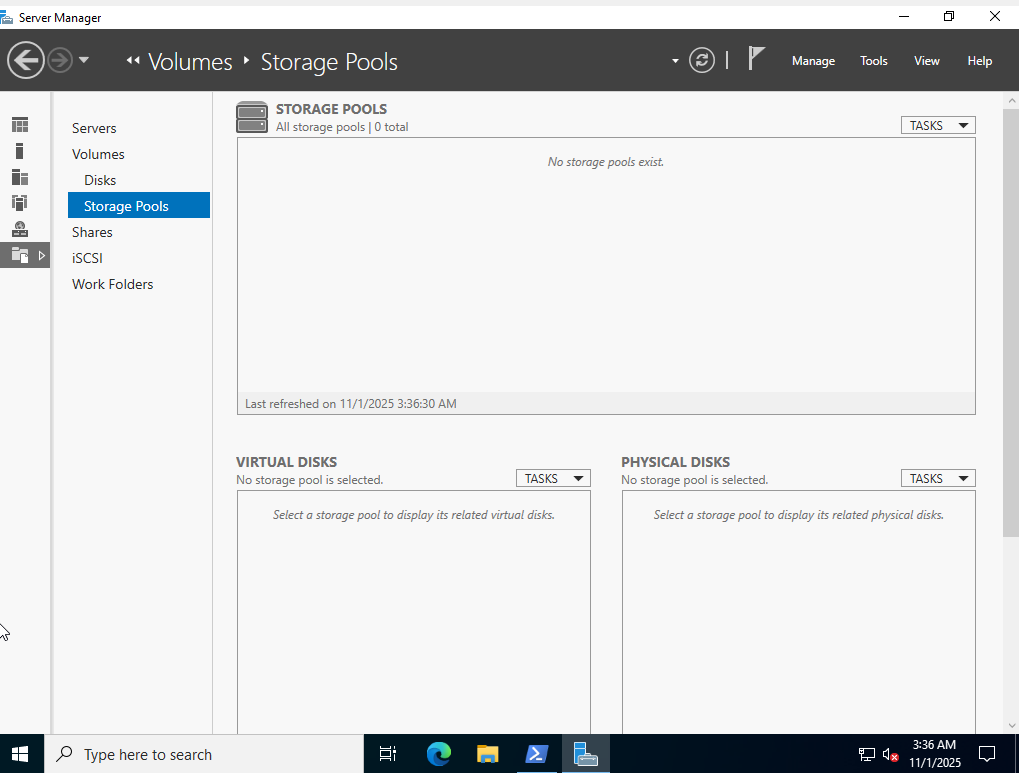
Nothing shows up which is normal. Now one may be wondering what the difference between virtual and physical disks are, and that is simple. Physical disks are actual hard drives, where virtual disks are logical hard drives. In order to setup a Storage Pool, Physical disks are needed, which can in turn once a Storage pool is set up, create virtual disks. On the drop down menus that are seen at the Virtual and Physical windows, There will be options to create new Virtual Disks, and adding Physical disks respectively. Both options will be greyed out because where one is actually supposed to go, is to the drop down menu on the top around the “Storage Pools” window. From there you should see some options, including the option “New Storage Pool” as seen in the picture below.
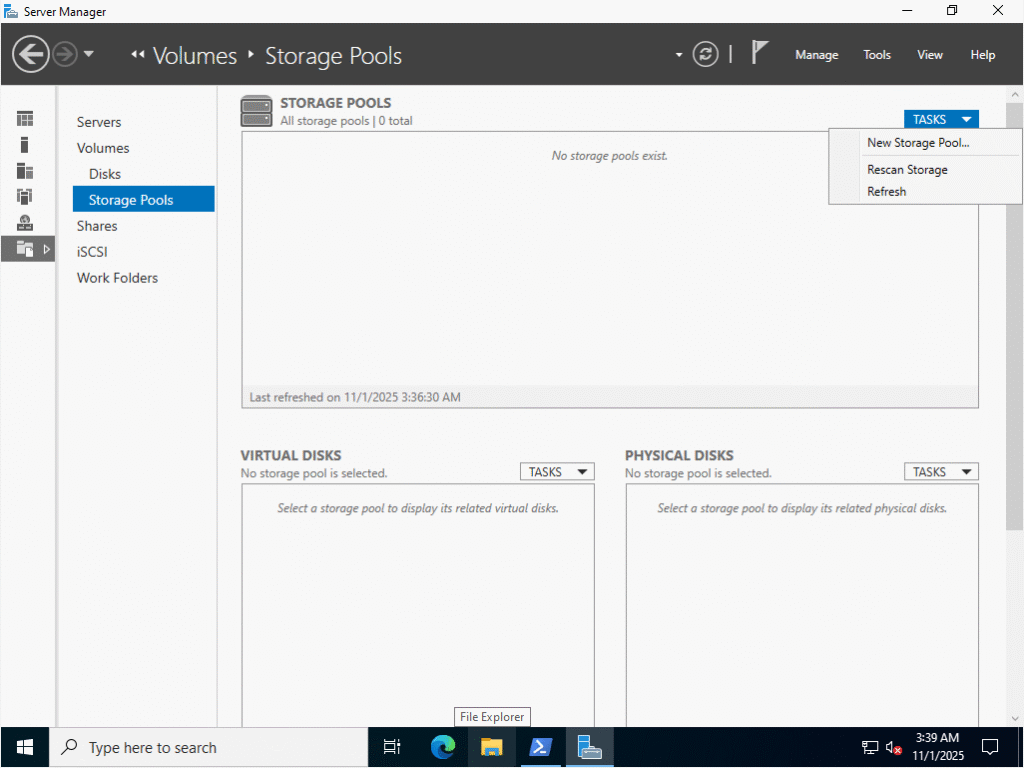
Click on that window, and it will lead you to a wizard to setup a Storage pool, but here is where the problem lies. As I said before, to make a Storage Pool, Physical Disks are needed. There are 5 reasons why a Physical disk may not be present: They must be offline or unallocated (no partitions or filesystem). They must not be the system disk. They must be basic disks, not dynamic. They must be physically connected and online. Only unused disks are eligible for pooling At the time of doing this lab, I couldnt, fulfill all of these steps so I couldn’t proceed. Chances are that the person reading this wont be able to do this either due to limited resources. To further compound matters, this is in a VM, and setting up a physical disk to work with a VM can be a major pain, so I have decided not to proceed with this step. This will work if the opposite is true however. If this is the case, complete the wizard by selecting the physical disks needed, and the storage pool will be setup. What we can do on a VM however, is set up file and folder sharing.
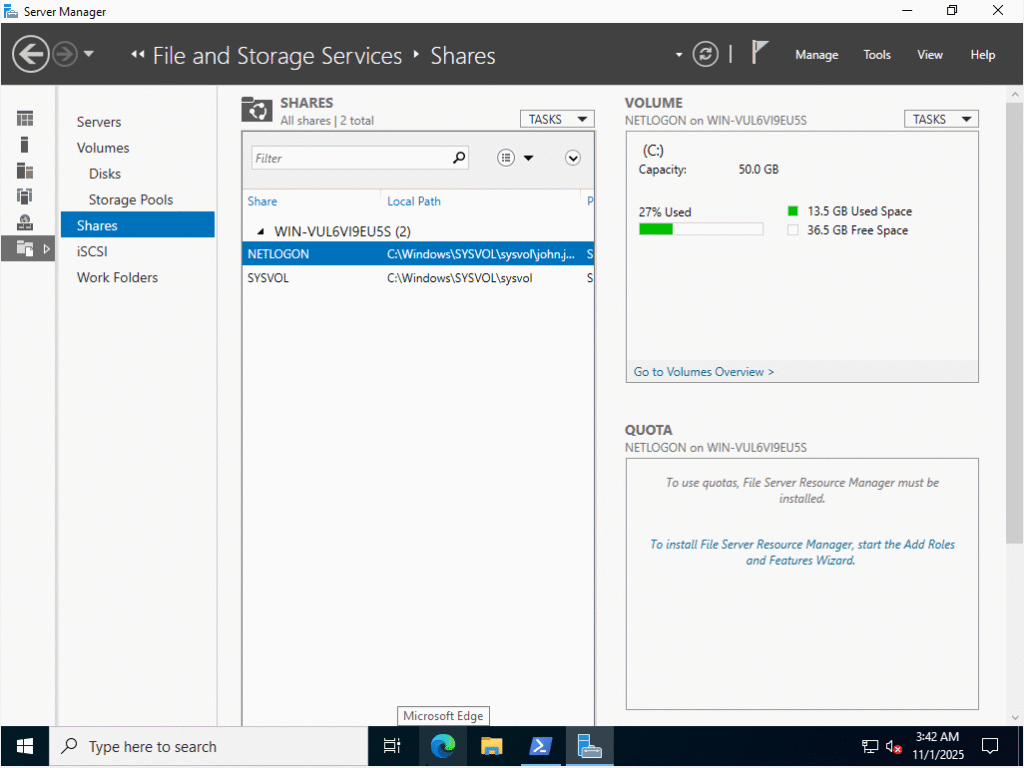
In the picture above, to set up a Share is simple, just click on the drop down window on the “Shares” area, then select “New Share.” From there, it is a quick and easy setup with another wizard. The first options ion the Wizard you will see are below in the picture:
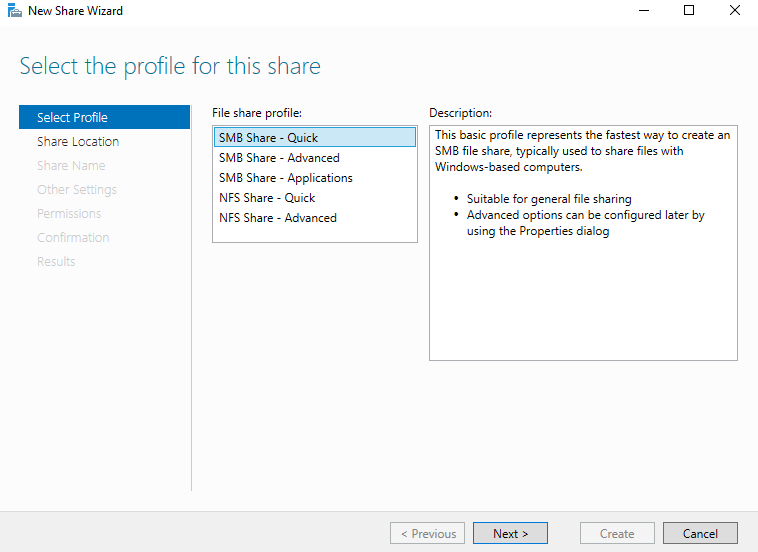
All options come with a description, but I selected “SMB Share -Quick” for an easy setup. Click next and it will take you to the location of a “Share.”

There is only one volume where you can actually do this, so just hit “Next” and the wizard will request a name of the SHare:
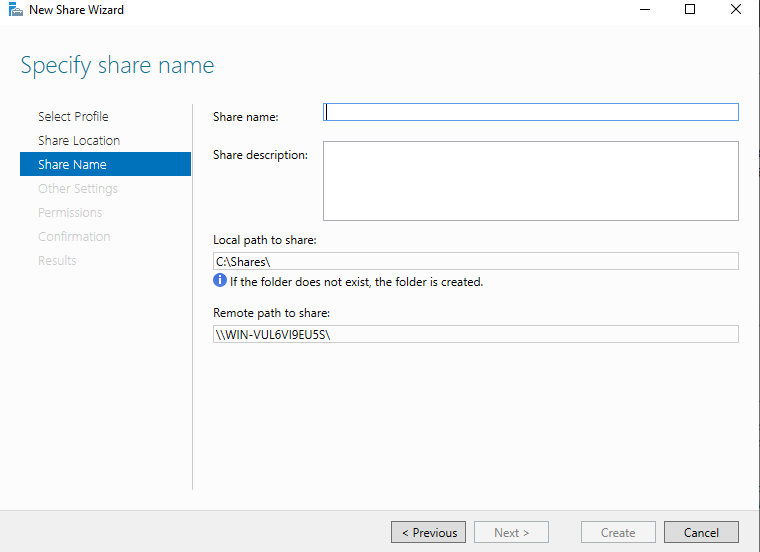
Name this whatever you want, and click “Next.” From there, the wizard will ask about the share settings. Take a look at them in the picture below:
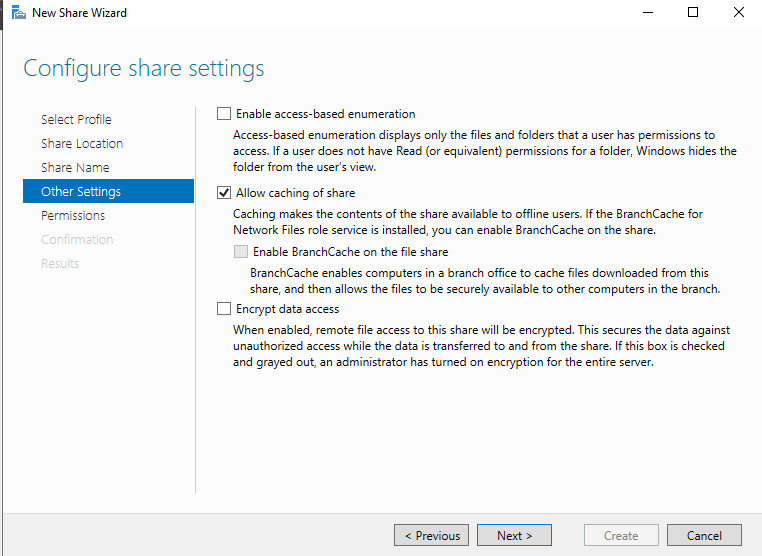
I left mine on “Allow Caching of share, as to me, it doesn’t make a difference as this is simply a lab environment. However, if doing this in a production environment, make sure to review what is needed for the IT infrastructure so it can run smoothly without fault. Once done with all selections, hit “Next” where permissions can be configured:
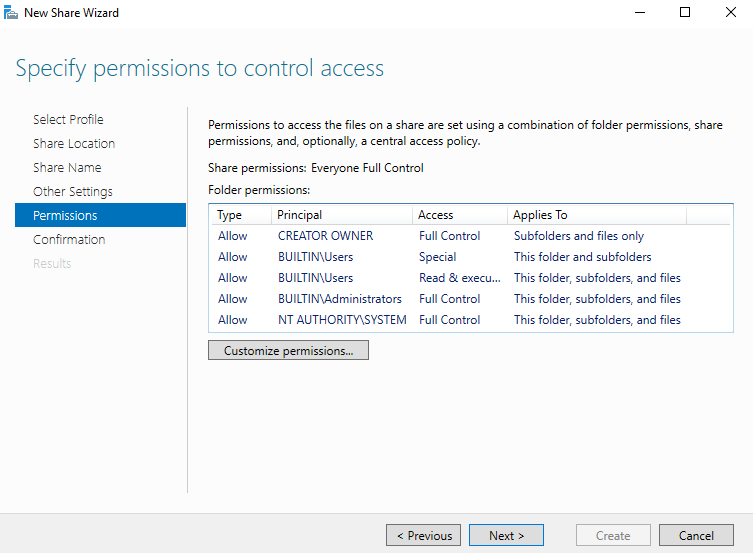
This is the last thing the Wizard will ask you to do, before confirming if all the setting are as you like them. These default settings look fine to me, but in a real environment they may not be fine. Use your best judgement when creating permissions, after that, it will install, and you will have a file share. After this, there is one more, optional step you may want to consider, and that is setting up a quota. A quota is something you can implement that limits users on how much files they can send in a given amount of time to conserve resources. In order to do this however, we need to install a role. Thankfully, one doesnt have to go too far to install this role:
On this image here, you will notice that there is an option for setting up quotas. It says that the “File Server Resource Manager” is needed for Quotas. It will then take you to install the role. Follow the Wizard, and when done, it should take you back to the Shares Window, where the blue text will now say “To set a quota, open the Configure Quota dialog box.” Click on that and it will show a window that looks like this:
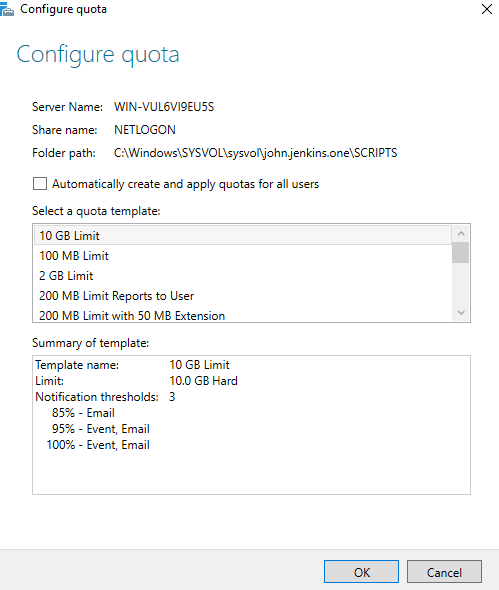
All you have to do is select the Share, you want to set a quota on, select the quota template, and you are done. This concludes part 5.
In part 6, we will set up a Web Server.
Filed under: Labs,Professional Development - @ November 1, 2025 10:55 am